So, I've been working on Annis, from knitty. It's my first adventure into real lace, using real laceweight yarn (although thankfully on size 8 needles!) and it's actually progressing pretty well.
I'm mostly through the complicated bits of the lace chart, working on row 14 out of 18. This is the last purl row on which you finish up nupps. Nupps are a unique stitch which I saw from comments on Rav that lots of people dislike. Many projects involve replacing nupps with beads, or just skipping them altogether. Now I can say that I actually really like them - ok, sure, the making 7 stitches from 1 part on the knit row is tedious, and the purling 7 stitches together part on the following purl row is dangerous. But successfully completing such a p7tog feels like a miniature achievement, and seeing the nupp form as I do so is also really satisfying.
But it's not what I'd call easy. Sometimes it's really hard to get the right needle through all seven loops; no matter how I angle it, one likes to stick up against the left needle and refuse to be picked up. I find I have to inch the 7 stitches right up to the tip of the left needle to even begin to have a chance at getting all 7; once it's there, I have to hold both needles in place SO TIGHT with my left hand while my right hand wraps the yarn around the teeny stub of needle tip showing through the loops; if I don't then maybe the right needle will slip out, no big deal - or maybe the prospective nupp will partially fall off the left needles. Much bigger deal. Then, I can take the right needle back in my right hand while keeping tension on the working yarn, although I have to pull it pretty taut in order to get it to slip through all the loops as I withdraw the right needle, instead of just popping off.
Like I said, it's satisfying - but it requires concentration and attention to detail, enough so that it also makes me a little tense as I'm doing it. Nervous energy, like a sliver of how it feels when you're psyching yourself up to do something scary. Last night, I was hanging out on the couch with Ryan, TV blaring something I'm not really interested in, while I worked. I gathered my nupp at the tip of the left needle, carefully forced the right needle through all 7 loops, and go to wrap the yarn . . . . when Ryan grabs my arm and shouts 'BOOGAH!'.
I don't really understand why, but this is one of his favorite things to do - surprise me and try to see me jump. Someday I'm just going to slap him, and then ask, 'Are you surprised now, bitch? Well, are you?' But in general I mostly ignore it these days, or just give him a look.
Last night, while desperately still applying my deathgrip to both needles with one hand, I looked him in the eye with full on hatred blazing from my inner core out through my pupils and nearly scream at him, 'WHAT THE FUCK IS WRONG WITH YOU??' Instead of giggling or giving me an affectionate half-shove like normal, he actually physically leans back from me, his shock visible in his hairy face. It is even more satisfying than completing a nupp, to see him taken aback so.
Now, I'm not normally a delicate flower of womanhood. Curses and shouting are not uncommon in this household, although more often delivered in an irritated and half-playful, half-annoyed sense. I suppose it must have been the level of fury which he had uncovered (rather than the words themselves) which had struck him speechless.
I turn back to the nupp and ensure it is safely purled, transferred to its new home on the right needle, and set my knitting aside for a moment. This has been long enough for the rage to retreat back into the cave from whence it came, so now I can turn back to him, and say, "I'm sorry, but I was doing something really tricky and you almost made me ruin it, by grabbing my arm like that." He is genuinely sorry, realizing from my (admittedly overboard) reaction that he came much closer to the abyss than intended. I then forced him to watch as I showed him a nupp and explained how they were formed, then demonstrated the procedure for finishing one off.
He'll never be a knitter. But maybe last night I forced just a tiny bit more respect for the craft into him. At the very least, I think he is unlikely to BOOGAH me again while I'm knitting.
A blog about knitting, science, video games, and anything else I think is cool, with a few free patterns thrown in here and there. For scientists, knitters, nerds, crocheters, geeks. But not for dorks.
Friday, August 20, 2010
Sunday, June 20, 2010
Pictures for the Badge of Honor pattern
Materials:
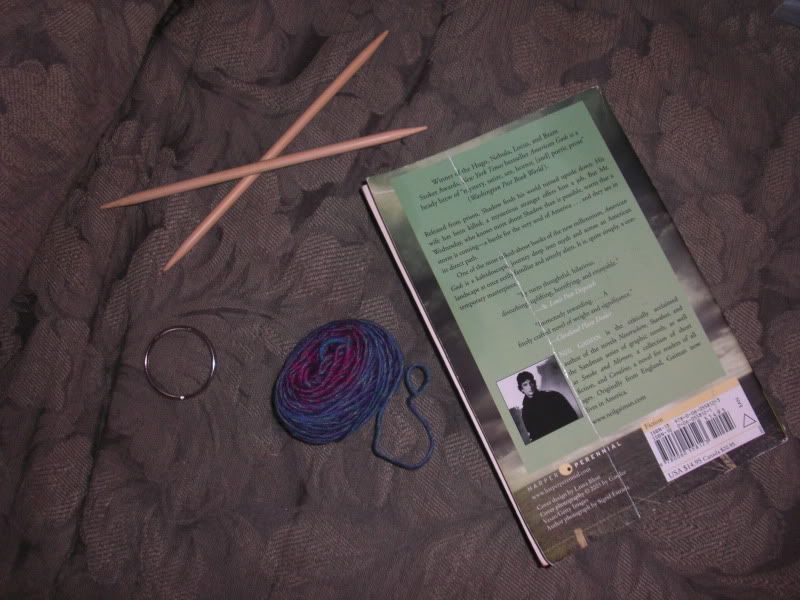
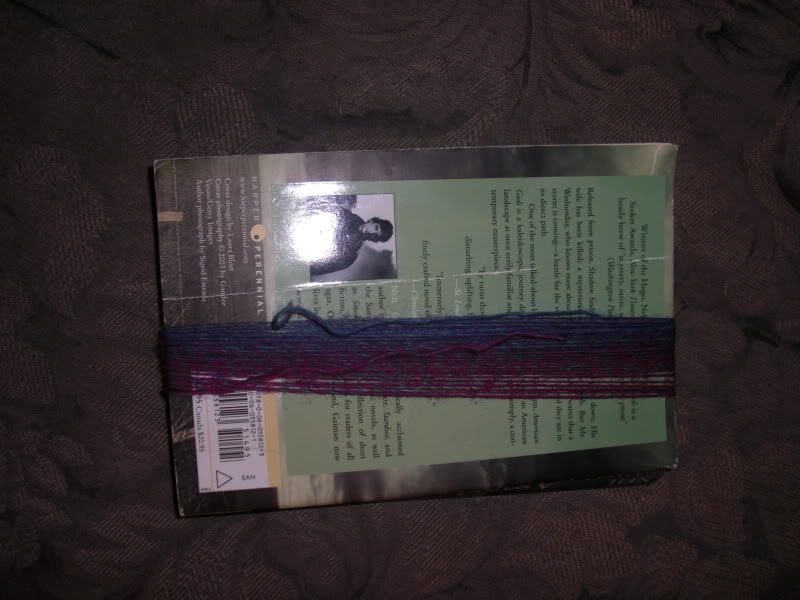
Wrap the yarn around your cardboard or book:
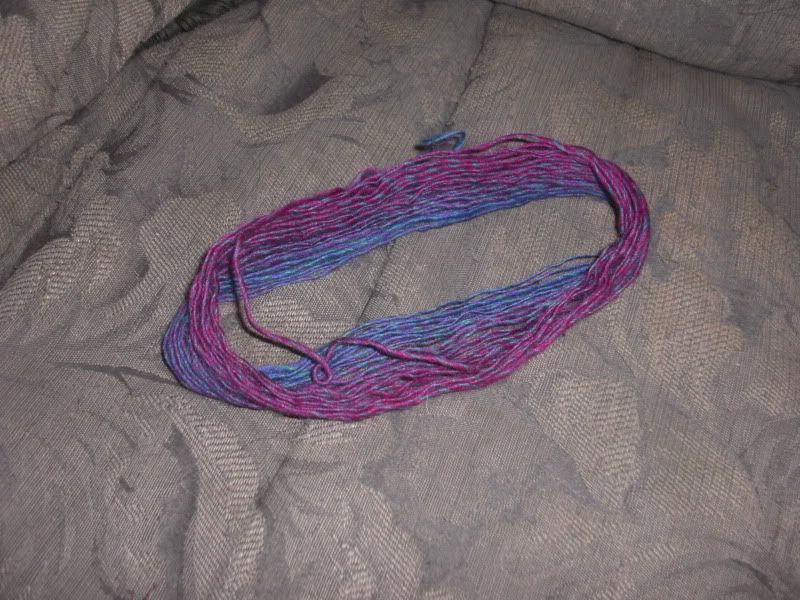
Remove it from the cardboard or book:
And put your pair of needles into it
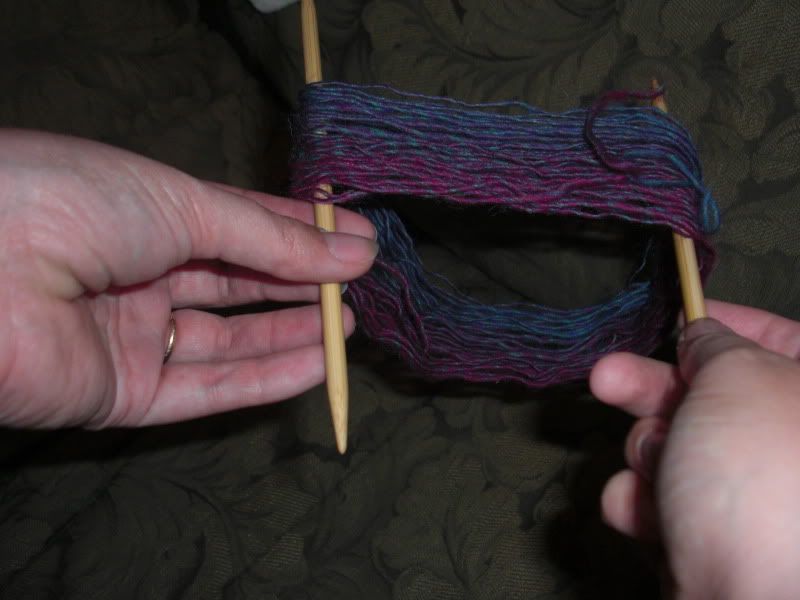
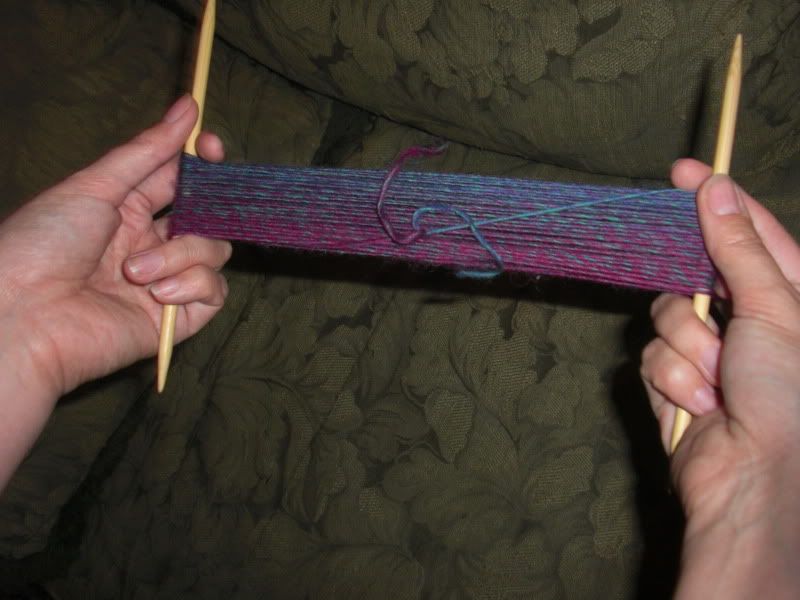
Twist it up
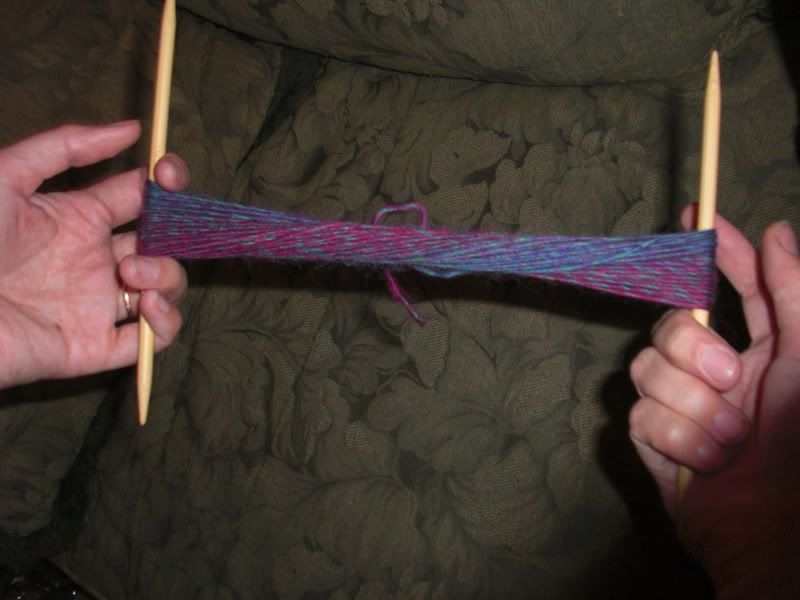
A lot! You'll know it's done when the twist has a tendency to kink on itself when you don't hold it tightly (as seen in the second picture below.)
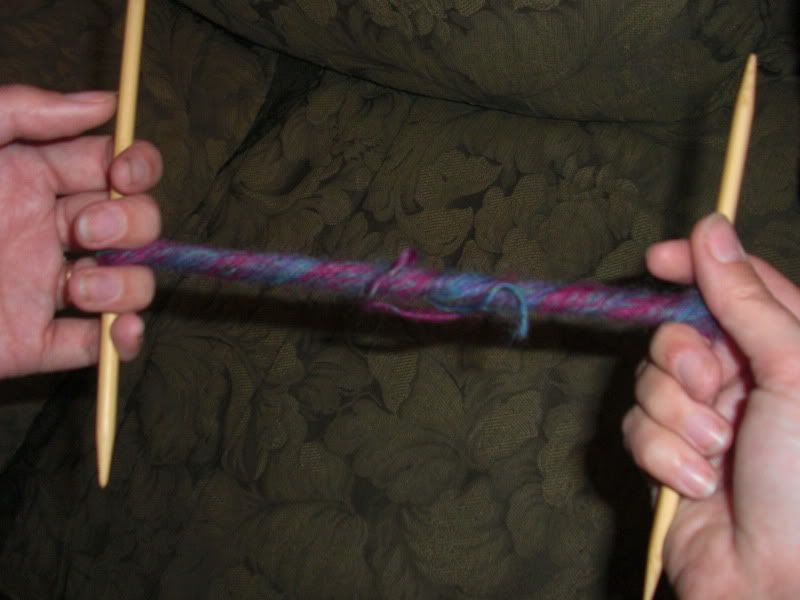
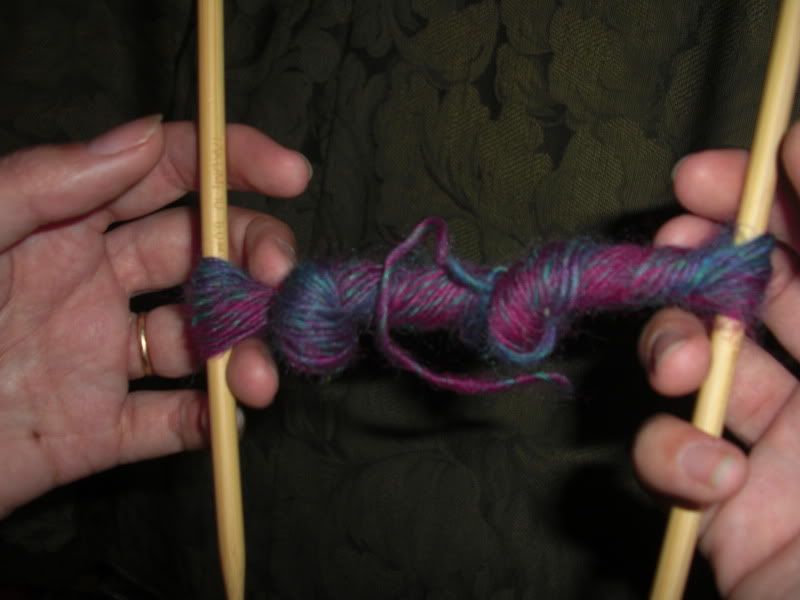
Now fold it in half and pull on the twists a little; it should come into a skein form.
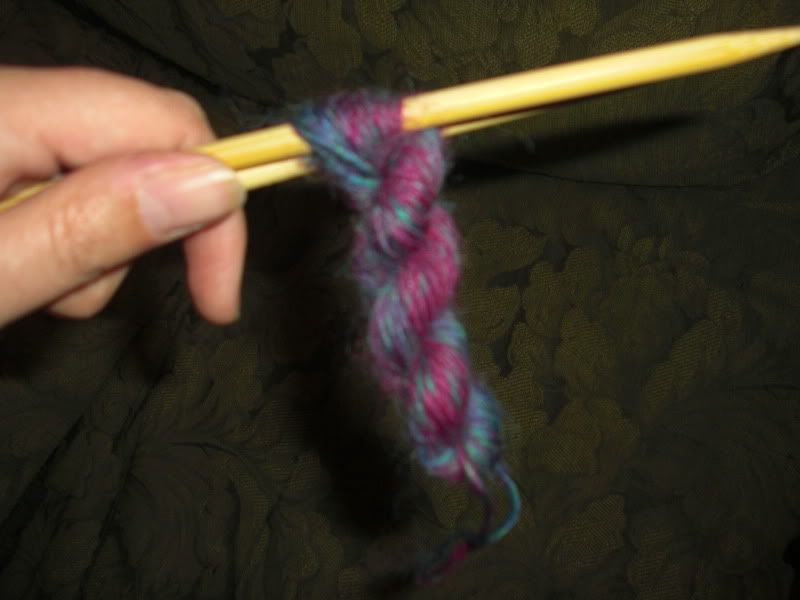
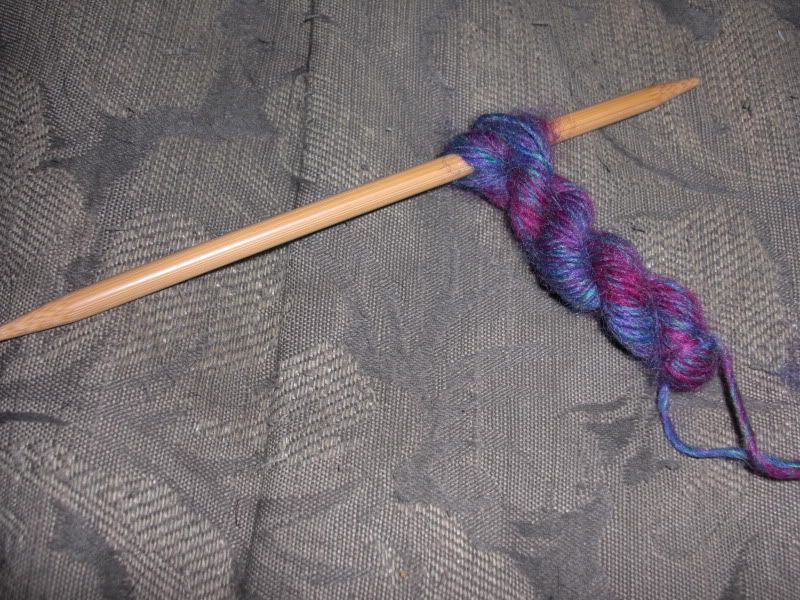
Transfer all the loops onto the same needle (be careful not to let it unwind as you do this)
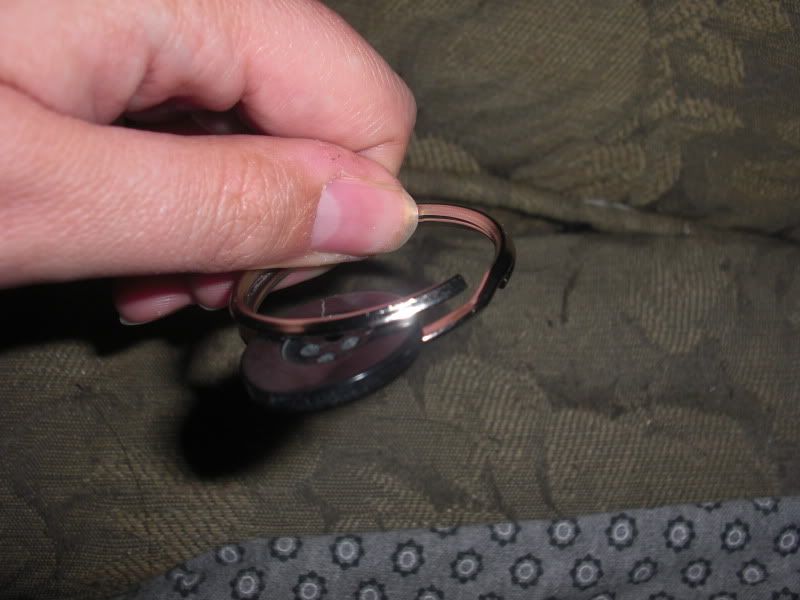
Now open your keyring. You can hold it open as you load the loops on it, or you can wedge something in there like a button, as shown.
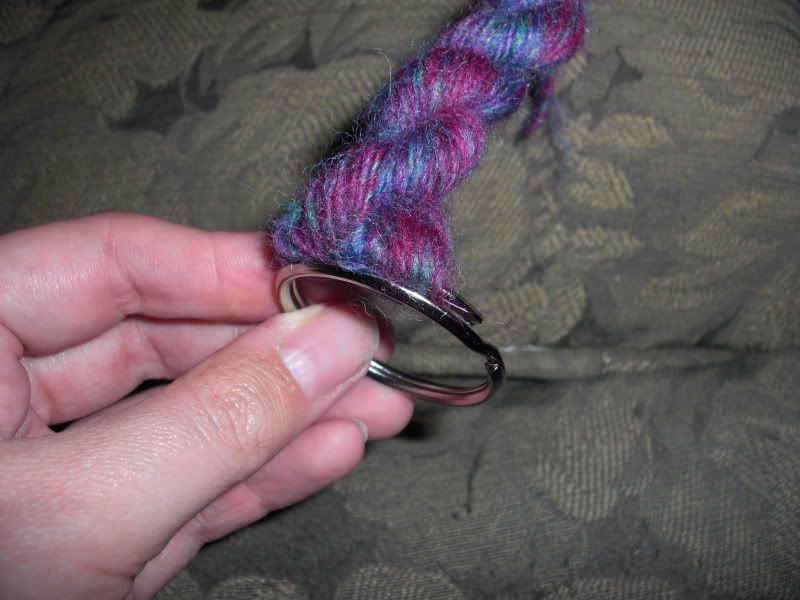
Slip all the loops from the needle onto the keyring.
Enjoy!
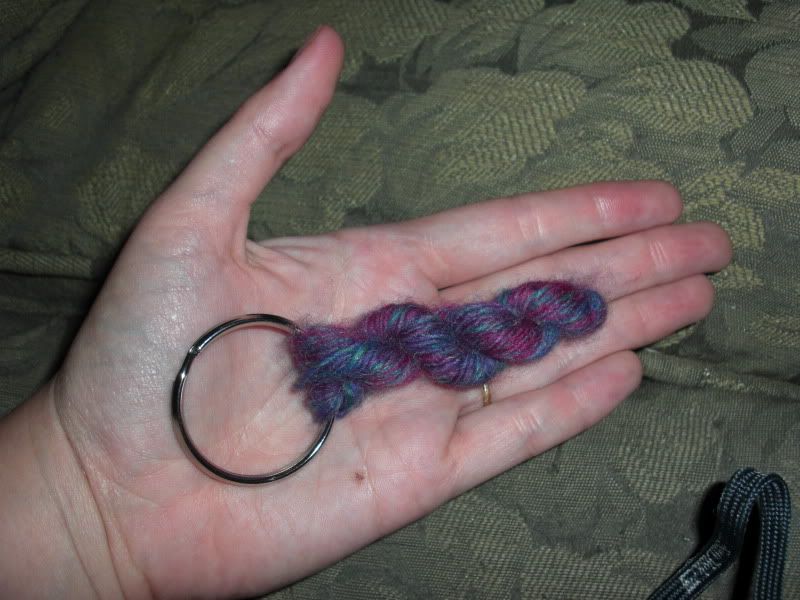

Wrap the yarn around your cardboard or book:

Remove it from the cardboard or book:

And put your pair of needles into it


Twist it up

A lot! You'll know it's done when the twist has a tendency to kink on itself when you don't hold it tightly (as seen in the second picture below.)


Now fold it in half and pull on the twists a little; it should come into a skein form.

Transfer all the loops onto the same needle (be careful not to let it unwind as you do this)

Now open your keyring. You can hold it open as you load the loops on it, or you can wedge something in there like a button, as shown.

Slip all the loops from the needle onto the keyring.

Enjoy!

Saturday, June 19, 2010
Free Pattern: Badge of Honor
So, I was looking through my projects on Ravelry, and I saw this little guy.
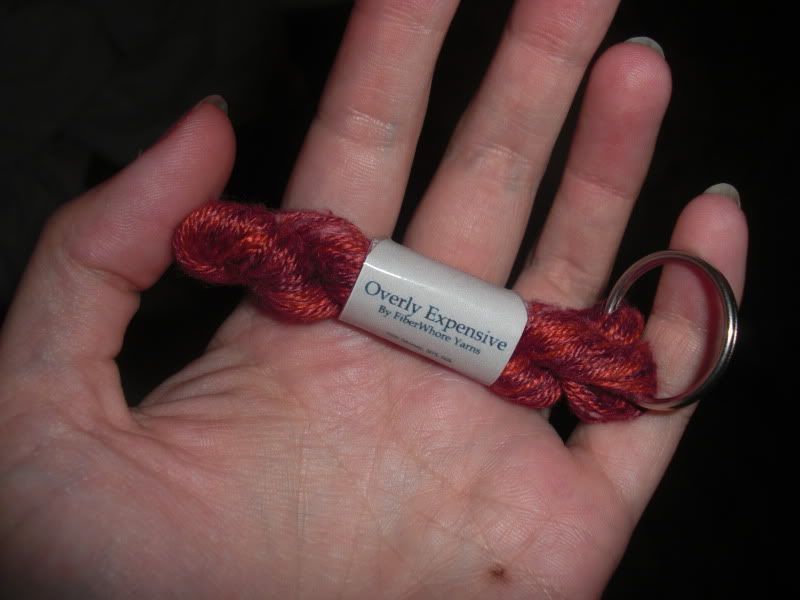
Then I realized there was no pattern listed. What? I know I hadn't come up with this idea on my own. Where was the pattern? I searched Ravelry frantically, because this sort of thing bugs me. No luck. Kept searching. Still nothing. WTF, mate?
So I googled it, and then I found the source; a post here, about halfway down the page. McLovin (formerly Ax174), I must thank you, because this is such a cool little project. I made several of them, and they travel with me on my purse, knitting bags, etc. I've even given a few away.
But I have become so indoctrinated into the idea that everything, everything should be on Ravelry, that I can't just let it lie. While her post was useful (after all, I made mine by looking at a picture of hers), some people might want a more verbose pattern, with yarn measurements and more explicit instructions.
So here is that more verbose pattern.
I actually don't think it needs pictures to be understood, so I decided not to clutter up this post with them. However, here is a post full of those pictures if you want to have a look.
Badge Of Honor Mini-Skein Charm
Materials:
4-10 yards of fingering weight yarn, or 8-20 yards of laceweight. You can try this with sport or DK, but I think it might be a little too bulky to give the right effect. 10 yards makes quite a thick skein; the sample above used around 6. Using fingering weight will make a charm that looks like a miniature worsted or bulky weight skein; using laceweight would make a miniature sock-weight skein.
A pair of needles: exact size is unimportant, but I'd recommmend somewhere from US4-US9, not too huge and not too small. These are only needed to put the proper twist into the skein charm. DPNs or straights are equally good.
A keyring
A piece of cardboard, or a book or magazine
Printer, paper, and clear tape, if you want to make a label.
Directions:
1. Cut your cardboard into a rectangle that is 10 inches long and a few inches wide, or find a book around the same size. If you want a longer, thinner skein, make your cardboard longer than 10 inches or find something else long enough - McLovin mentioned that she wraps hers around a magazine. Wind your yarn around it in the long direction until you run out of yarn. Tie the two ends together very securely, and trim the ends so they are short. If you want to be super sure it won't unwind, then put a drop of superglue on the knot and wait for it to try before continuing.
2. Slip the yarn off the cardboard (don't let it unwind!) and put your two needles into the big loop. Hold the needles as far apart as they will go, with the looped yarn stretched between them. Now, use those needles as handles to twist these loops of yarn up pretty good. You'll know you have twisted it enough when the twist starts trying to loop up on itself a little (if this sounds confusing, try it and you will see what I mean.)
3. Once it's twisted enough, fold it in half, bringing the two needles together. It should twist into a skein shape on its own at this point. If the skein seems too loose, unfold it and twist the yarn some more before refolding.
4. When you're happy with the appearance of your skein, you can take out one of the needles (carefully, so it doesn't unwind) and transfer those loops onto the other needle; this will hold the skein in position.
5. Now it's time to put it on the keyring. This part can be a bit tricky, especially if you have a really stiff keyring. What you need to do is hold the keyring open and slip all the loops of yarn on your needle onto the keyring, the same way you'd put a key on there. I find that sometimes, forcing the ring open, then wedging something like a button in there helps hold it open while you load in the yarn.
Slide the loops all the way around (again, like you do to put a key on) until the skein is completely on the keyring, and you're finished!
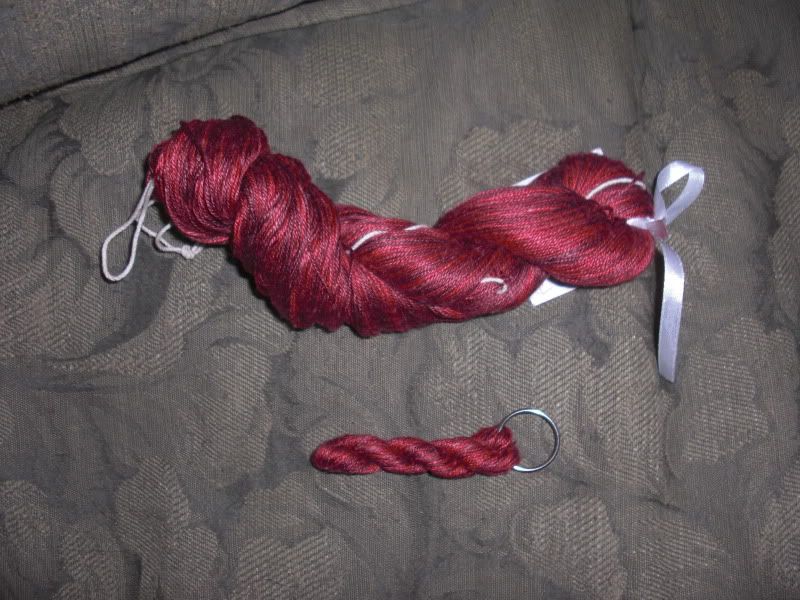
If you want to make a label, below are some label templates I made for mine. I printed mine out and covered it with clear packing tape to make it a little more stable, then put it around the skein and taped it closed. Be aware, the label won't hold up to abuse like the skein does - I lost the label off mine some time ago, but I have found that I actually like it better this way, you see more of the yarn.
Now, stick your charm anywhere you feel like it!


Thursday, March 25, 2010
Pattern: Quick and Cute Shrug

OMG I'M NOT DEAD NEW POST
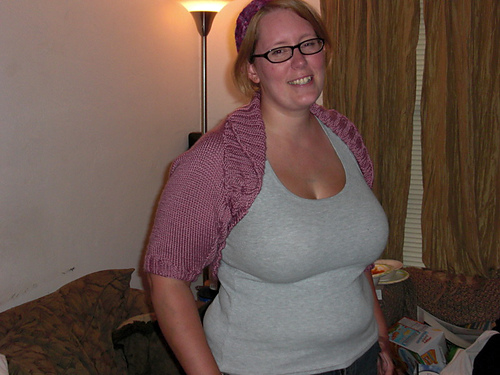
Anyway, a while ago I made a nice shrug on my Bond USM, and like an idiot I gave it a pattern page on Ravelry . . . without actually writing up a pattern. My apologies for that, to the one person who seemed to be interested! Without further delay, here is the pattern. Right now it only comes in plus sizes - in other words, me-sized - but I'll at least work out a recipe to resize it.
Quick and Cute Shrug
This is knit mostly like the bond shrug, but it incorporates shaping so that it is a better fit! I noticed a lot of pictures of the finished object on Ravelry looked a little baggy around the armpits, so this version starts out narrow at the elbow, widens to the widest part of the arm, and then shrinks again so that the back is a good fit (and does the reverse for the other arm). It is knit sideways, so it starts at the end of one sleeve, knits along the arm and across the back, then down the other sleeve.
The Simply Soft makes a silky and not too elastic shrug. The one I'm wearing in the picture has perhaps one inch of negative ease, so it clings a little, but the ribbing remains stretched out and flexible. If you want something more elastic and clingy, you might try a wool yarn of similar gauge. Just check your tension first.
Now resized for S, M, L, or XL! I wrote it for me, which means size XL, so the measurements for S,M,L can be found in parentheses before the measurement for XL.
Arm just above the elbow, (7", 8", 10") 12" around. Arm at largest point before armpit: (11", 12", 14") 16" around. Cross-back measurement: (14",16", 17") 18". Height of back panel, collar and ribbing included: about 20". All sizes have sleeve length of 12".
Machine knitting techniques you should know before trying this:
Simple decreases and increases
Making ribbing
Picking up stitches along the side of a piece
Binding off
On-machine seaming (optional)
Estimated Yardage: (450, 475, 500) 530 yards
Skeins of yarn needed: 2, no matter what size. While these yardages are estimated based on the yardage of a sample knit in size XL, they still range between 1 and 2 skeins of Simply Soft. I also doubted that yardage, to be honest; but I weighed the finished XL that I made and found it weighed 286 grams, which is equivalent to 1.68 skeins, and I KNOW that it's knitted to the specifications below.
Materials needed: 2 skeins of Caron Simply Soft, waste yarn, yarn needle, USM Row counter or a piece of paper to tally rows on
Tension: 18 stitches and 24 rows = 4", UNSTRETCHED, using keyplate # 2.5
CO (32, 36, 44,) 56 stitches using waste yarn.
Knit 4 rows using waste yarn.
Change to main color.
Reset counter to 1. Knit 54 rows, increasing one stitch on both sides every 6 rows.
Reset counter to 1. Knit 18 rows, decreasing one stitch on both sides every ( 0,0,2) 1 row. (Note: this means for size small and medium, do not decrease. For large, decrease every second row. For xl, decrease every row.)
Reset counter to 1. Knit (84, 92, 96) 108 rows.
Reset counter to 1. Knit 18 rows, increasing one stitch on both sides every ( 0,0,2) 1 row.
Reset counter to 1. Knit 54 rows, decreasing one stitch on both sides every 6 rows.
Change to waste yarn - knit 4 more rows.
Remove work from machine, do not bind off.
Your choice here: add ribbing using the machine to either cuff flat, so it will have to be seamed, or pick it up later and hand knit it with DPNs or a circular needle.
I did it by hand because I was so eager to seam it up I forgot to do the ribbing first! Upon reflection I like it better that way because there is no visible seam in the ribbing. If you do it by hand, then wait until you have finished the rest of the garment. Then, pick up all (32, 36, 44,) 56 stitches using DPNs or a circular needle. Knit 8 rounds of k2p2 ribbing, then bind off - not too tight, but not too loose.
If you want to use the machine:
Rehang the beginning edge by putting needles through the first loops of the main color - one needle per original stitch, 54 total. Place the small weighted hem on the same way you normally would, using ravel cord or elastic, after you have rehung the beginning edge.
Knit 8 rows; convert to k2p2 ribbing. Bind off in whatever manner you prefer, but make sure it's not too tight.
Remove elastic or ravel cord to remove hem; pull out waste yarn.
Repeat for the other arm.
Time to seam up the sleeves of your work! You can do this by hand or on the machine. Fold the piece in half lengthwise and seam the first 10" from the sleeve beginning towards the back, on either side. If you are unsure of fit, you can use safety pins or bobby pins to pin this hem and try it on.
To seam by hand: use your yarn needle and sew the seam together.
To seam by machine: fold the shrug with right sides together and wrong side (purl side) showing. Use your latch tool to put the needles through both layers. Knit a single row through both of them - use keyplate 3 or 4, and you will have to have one hand on the carriage and the other hand gently putting tension below (since no weight will be attached at this point). Then bind off.
Make sure you seam up both sleeves.
Now it is time to add the bottom ribbing. Hang one edge of the shrug (it doesn't matter which as it is symmetrical at this point) from one sleeve seam to the other, by inserting needles through the ribbing; hang it so the purl side faces you. You should pick up about (18", 20", 21") 22" worth of stitches, or (80, 88, 92) 96 stitches, total. The easiest way to hang a long piece like this is to start with the two very edge stitches - hang the edges of the section you want to pick up on the edge needles. Then pick out the middle and hang that stitch. Now do the same thing again - for each long area, hang a stitch in the middle. Keep subdividing your work like this and you will get a nice even hang.
Knit 24 rows, and convert to k2p2 ribbing - on the side facing you, you should start and end with purl ribs. Bind off these stitches at a medium tightness - the edge needs to be able to stretch a bit.
Now, hang the other edge, the same way you hung the first one. This edge will be the top; the collar starts out the same length as the back ribbing, but gradually grows to twice its length, so you can fold it over nicely. If you don't want a folding collar then you can do it the same way you did the bottom edge.
Get two yarn needles with a nice long piece of waste yarn on each, ready to hold stitches as you transfer them off the needles (or use long circular needles as stitch holders).
Start by knitting 24 rows. Take the two outermost stitches on either side, and transfer them to waste yarn, taking them off the needles. Convert the next two stitches on either side into a k2 rib, using your latch tool, and transfer them to waste yarn too.
Reset the counter to 1. Repeat the following 4 rows six times for a total of 24 more rows:
1. Knit a row. Transfer one stitch on each side to the waste yarn.
2. Knit a row. Transfer one stitch on each side to the waste yarn.
3. Knit a row.
4. Knit a row; convert the outermost two stitches into a k2 rib. Transfer both of these stitches to waste yarn.
When you have done all 24 rows, then bind off the whole section loosely - this edge must be stretchy. If you prefer, you can rehang the side stitches to bind off; I like to use the chain bind off, which does not require you to rehang stitches.
Lastly, sew the ends of the two bands of ribbing together. Weave in ends. Block, if desired - it's not necessary if you used Simply Soft, since acrylic doesn't really block. I generally throw Simply Soft items through the wash and dryer on low heat to even out the stitches, but you can't really do more shaping than that.
Subscribe to:
Posts (Atom)