Sunday, June 20, 2010

Pictures for the Badge of Honor pattern

Materials:


Wrap the yarn around your cardboard or book:


Remove it from the cardboard or book:


And put your pair of needles into it


Twist it up


A lot! You'll know it's done when the twist has a tendency to kink on itself when you don't hold it tightly (as seen in the second picture below.)


Now fold it in half and pull on the twists a little; it should come into a skein form.


Transfer all the loops onto the same needle (be careful not to let it unwind as you do this)


Now open your keyring. You can hold it open as you load the loops on it, or you can wedge something in there like a button, as shown.


Slip all the loops from the needle onto the keyring.


Enjoy!

Saturday, June 19, 2010

Free Pattern: Badge of Honor

So, I was looking through my projects on Ravelry, and I saw this little guy.


Then I realized there was no pattern listed. What? I know I hadn't come up with this idea on my own. Where was the pattern? I searched Ravelry frantically, because this sort of thing bugs me. No luck. Kept searching. Still nothing. WTF, mate?

So I googled it, and then I found the source; a post here, about halfway down the page. McLovin (formerly Ax174), I must thank you, because this is such a cool little project. I made several of them, and they travel with me on my purse, knitting bags, etc. I've even given a few away.

But I have become so indoctrinated into the idea that everything, everything should be on Ravelry, that I can't just let it lie. While her post was useful (after all, I made mine by looking at a picture of hers), some people might want a more verbose pattern, with yarn measurements and more explicit instructions.

So here is that more verbose pattern.
I actually don't think it needs pictures to be understood, so I decided not to clutter up this post with them. However, here is a post full of those pictures if you want to have a look.

Badge Of Honor Mini-Skein Charm
Materials:
4-10 yards of fingering weight yarn, or 8-20 yards of laceweight. You can try this with sport or DK, but I think it might be a little too bulky to give the right effect. 10 yards makes quite a thick skein; the sample above used around 6. Using fingering weight will make a charm that looks like a miniature worsted or bulky weight skein; using laceweight would make a miniature sock-weight skein.

A pair of needles: exact size is unimportant, but I'd recommmend somewhere from US4-US9, not too huge and not too small. These are only needed to put the proper twist into the skein charm. DPNs or straights are equally good.

A keyring

A piece of cardboard, or a book or magazine

Printer, paper, and clear tape, if you want to make a label.

Directions:
1. Cut your cardboard into a rectangle that is 10 inches long and a few inches wide, or find a book around the same size. If you want a longer, thinner skein, make your cardboard longer than 10 inches or find something else long enough - McLovin mentioned that she wraps hers around a magazine. Wind your yarn around it in the long direction until you run out of yarn. Tie the two ends together very securely, and trim the ends so they are short. If you want to be super sure it won't unwind, then put a drop of superglue on the knot and wait for it to try before continuing.

2. Slip the yarn off the cardboard (don't let it unwind!) and put your two needles into the big loop. Hold the needles as far apart as they will go, with the looped yarn stretched between them. Now, use those needles as handles to twist these loops of yarn up pretty good. You'll know you have twisted it enough when the twist starts trying to loop up on itself a little (if this sounds confusing, try it and you will see what I mean.)

3. Once it's twisted enough, fold it in half, bringing the two needles together. It should twist into a skein shape on its own at this point. If the skein seems too loose, unfold it and twist the yarn some more before refolding.

4. When you're happy with the appearance of your skein, you can take out one of the needles (carefully, so it doesn't unwind) and transfer those loops onto the other needle; this will hold the skein in position.

5. Now it's time to put it on the keyring. This part can be a bit tricky, especially if you have a really stiff keyring. What you need to do is hold the keyring open and slip all the loops of yarn on your needle onto the keyring, the same way you'd put a key on there. I find that sometimes, forcing the ring open, then wedging something like a button in there helps hold it open while you load in the yarn.

Slide the loops all the way around (again, like you do to put a key on) until the skein is completely on the keyring, and you're finished!

If you want to make a label, below are some label templates I made for mine. I printed mine out and covered it with clear packing tape to make it a little more stable, then put it around the skein and taped it closed. Be aware, the label won't hold up to abuse like the skein does - I lost the label off mine some time ago, but I have found that I actually like it better this way, you see more of the yarn.

Now, stick your charm anywhere you feel like it!


Thursday, March 25, 2010

Pattern: Quick and Cute Shrug


OMG I'M NOT DEAD NEW POST

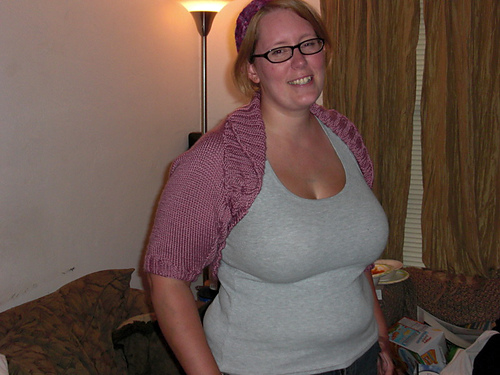
Anyway, a while ago I made a nice shrug on my Bond USM, and like an idiot I gave it a pattern page on Ravelry . . . without actually writing up a pattern. My apologies for that, to the one person who seemed to be interested! Without further delay, here is the pattern. Right now it only comes in plus sizes - in other words, me-sized - but I'll at least work out a recipe to resize it.

Quick and Cute Shrug

This is knit mostly like the bond shrug, but it incorporates shaping so that it is a better fit! I noticed a lot of pictures of the finished object on Ravelry looked a little baggy around the armpits, so this version starts out narrow at the elbow, widens to the widest part of the arm, and then shrinks again so that the back is a good fit (and does the reverse for the other arm). It is knit sideways, so it starts at the end of one sleeve, knits along the arm and across the back, then down the other sleeve.

The Simply Soft makes a silky and not too elastic shrug. The one I'm wearing in the picture has perhaps one inch of negative ease, so it clings a little, but the ribbing remains stretched out and flexible. If you want something more elastic and clingy, you might try a wool yarn of similar gauge. Just check your tension first.

Now resized for S, M, L, or XL! I wrote it for me, which means size XL, so the measurements for S,M,L can be found in parentheses before the measurement for XL.
Arm just above the elbow, (7", 8", 10") 12" around. Arm at largest point before armpit: (11", 12", 14") 16" around. Cross-back measurement: (14",16", 17") 18". Height of back panel, collar and ribbing included: about 20". All sizes have sleeve length of 12".

Machine knitting techniques you should know before trying this:
Simple decreases and increases
Making ribbing
Picking up stitches along the side of a piece
Binding off
On-machine seaming (optional)

Estimated Yardage: (450, 475, 500) 530 yards
Skeins of yarn needed: 2, no matter what size. While these yardages are estimated based on the yardage of a sample knit in size XL, they still range between 1 and 2 skeins of Simply Soft. I also doubted that yardage, to be honest; but I weighed the finished XL that I made and found it weighed 286 grams, which is equivalent to 1.68 skeins, and I KNOW that it's knitted to the specifications below.

Materials needed: 2 skeins of Caron Simply Soft, waste yarn, yarn needle, USM Row counter or a piece of paper to tally rows on

Tension: 18 stitches and 24 rows = 4", UNSTRETCHED, using keyplate # 2.5

CO (32, 36, 44,) 56 stitches using waste yarn.
Knit 4 rows using waste yarn.
Change to main color.
Reset counter to 1. Knit 54 rows, increasing one stitch on both sides every 6 rows.
Reset counter to 1. Knit 18 rows, decreasing one stitch on both sides every ( 0,0,2) 1 row. (Note: this means for size small and medium, do not decrease. For large, decrease every second row. For xl, decrease every row.)
Reset counter to 1. Knit (84, 92, 96) 108 rows.
Reset counter to 1. Knit 18 rows, increasing one stitch on both sides every ( 0,0,2) 1 row.
Reset counter to 1. Knit 54 rows, decreasing one stitch on both sides every 6 rows.
Change to waste yarn - knit 4 more rows.
Remove work from machine, do not bind off.

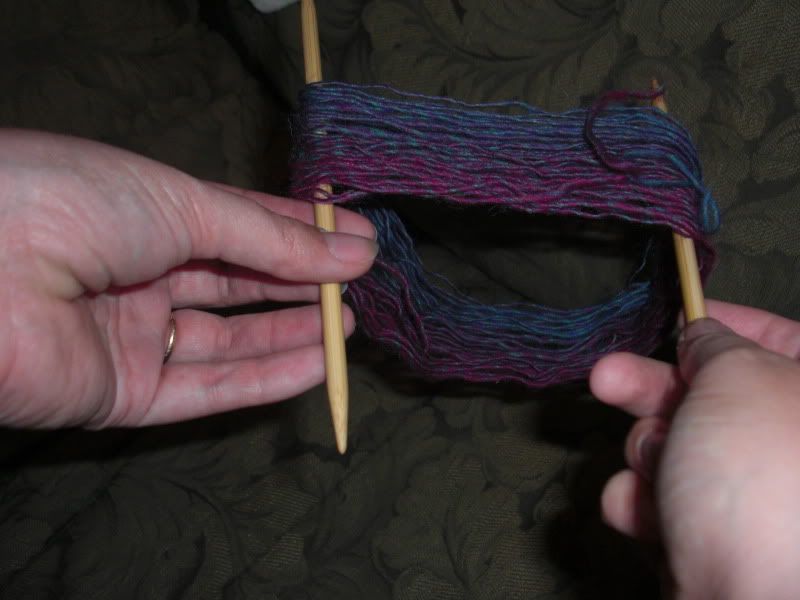
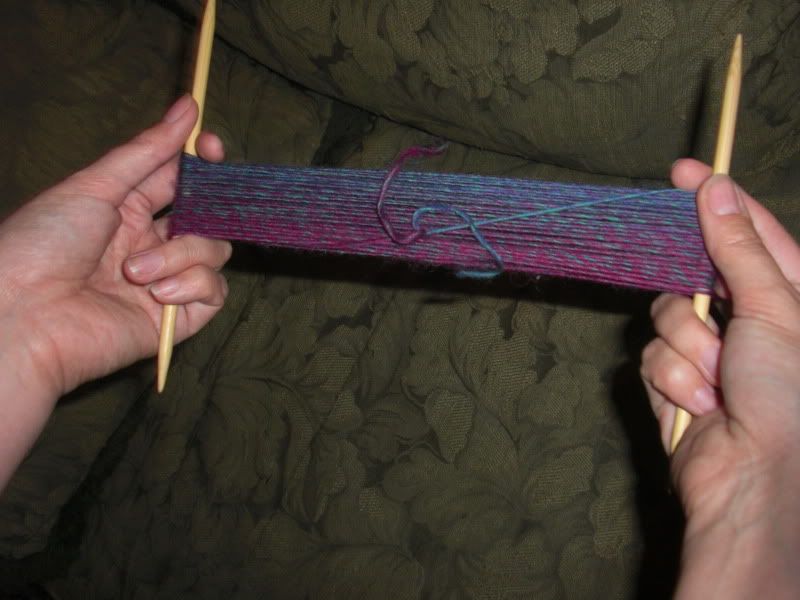
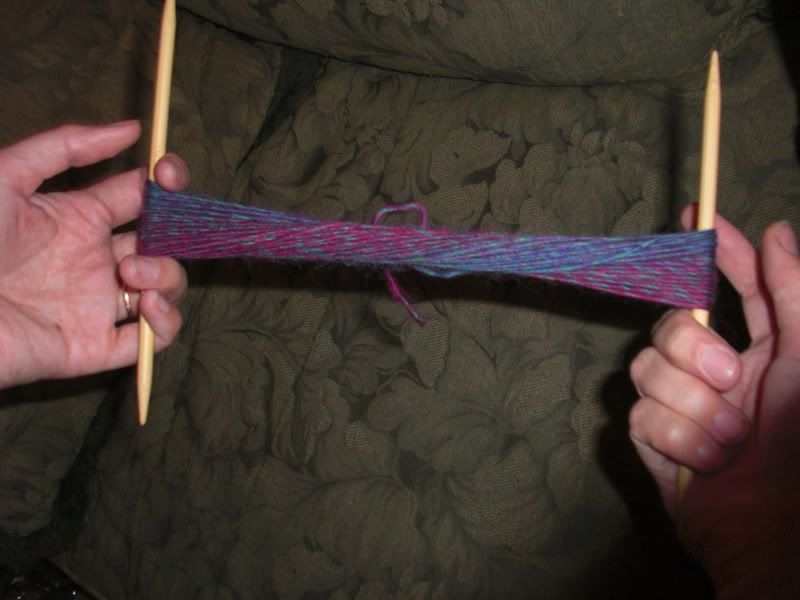
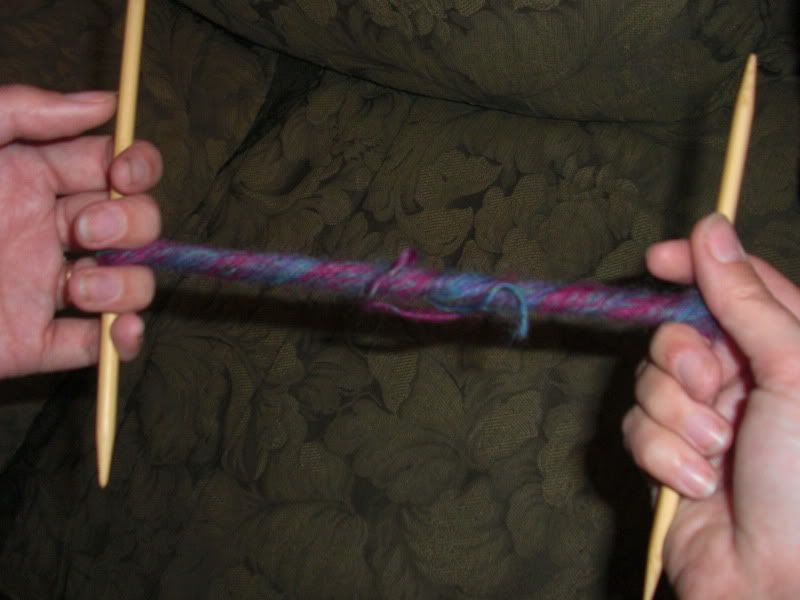
Your choice here: add ribbing using the machine to either cuff flat, so it will have to be seamed, or pick it up later and hand knit it with DPNs or a circular needle.
I did it by hand because I was so eager to seam it up I forgot to do the ribbing first! Upon reflection I like it better that way because there is no visible seam in the ribbing. If you do it by hand, then wait until you have finished the rest of the garment. Then, pick up all (32, 36, 44,) 56 stitches using DPNs or a circular needle. Knit 8 rounds of k2p2 ribbing, then bind off - not too tight, but not too loose.
If you want to use the machine:
Rehang the beginning edge by putting needles through the first loops of the main color - one needle per original stitch, 54 total. Place the small weighted hem on the same way you normally would, using ravel cord or elastic, after you have rehung the beginning edge.
Knit 8 rows; convert to k2p2 ribbing. Bind off in whatever manner you prefer, but make sure it's not too tight.
Remove elastic or ravel cord to remove hem; pull out waste yarn.
Repeat for the other arm.

Time to seam up the sleeves of your work! You can do this by hand or on the machine. Fold the piece in half lengthwise and seam the first 10" from the sleeve beginning towards the back, on either side. If you are unsure of fit, you can use safety pins or bobby pins to pin this hem and try it on.
To seam by hand: use your yarn needle and sew the seam together.
To seam by machine: fold the shrug with right sides together and wrong side (purl side) showing. Use your latch tool to put the needles through both layers. Knit a single row through both of them - use keyplate 3 or 4, and you will have to have one hand on the carriage and the other hand gently putting tension below (since no weight will be attached at this point). Then bind off.
Make sure you seam up both sleeves.

Now it is time to add the bottom ribbing. Hang one edge of the shrug (it doesn't matter which as it is symmetrical at this point) from one sleeve seam to the other, by inserting needles through the ribbing; hang it so the purl side faces you. You should pick up about (18", 20", 21") 22" worth of stitches, or (80, 88, 92) 96 stitches, total. The easiest way to hang a long piece like this is to start with the two very edge stitches - hang the edges of the section you want to pick up on the edge needles. Then pick out the middle and hang that stitch. Now do the same thing again - for each long area, hang a stitch in the middle. Keep subdividing your work like this and you will get a nice even hang.

Knit 24 rows, and convert to k2p2 ribbing - on the side facing you, you should start and end with purl ribs. Bind off these stitches at a medium tightness - the edge needs to be able to stretch a bit.

Now, hang the other edge, the same way you hung the first one. This edge will be the top; the collar starts out the same length as the back ribbing, but gradually grows to twice its length, so you can fold it over nicely. If you don't want a folding collar then you can do it the same way you did the bottom edge.

Get two yarn needles with a nice long piece of waste yarn on each, ready to hold stitches as you transfer them off the needles (or use long circular needles as stitch holders).
Start by knitting 24 rows. Take the two outermost stitches on either side, and transfer them to waste yarn, taking them off the needles. Convert the next two stitches on either side into a k2 rib, using your latch tool, and transfer them to waste yarn too.
Reset the counter to 1. Repeat the following 4 rows six times for a total of 24 more rows:
1. Knit a row. Transfer one stitch on each side to the waste yarn.
2. Knit a row. Transfer one stitch on each side to the waste yarn.
3. Knit a row.
4. Knit a row; convert the outermost two stitches into a k2 rib. Transfer both of these stitches to waste yarn.
When you have done all 24 rows, then bind off the whole section loosely - this edge must be stretchy. If you prefer, you can rehang the side stitches to bind off; I like to use the chain bind off, which does not require you to rehang stitches.

Lastly, sew the ends of the two bands of ribbing together. Weave in ends. Block, if desired - it's not necessary if you used Simply Soft, since acrylic doesn't really block. I generally throw Simply Soft items through the wash and dryer on low heat to even out the stitches, but you can't really do more shaping than that.

Tuesday, July 21, 2009

Ugh.

Yeah, about that Intarsia in the round thing. Maybe later. On my first attempt I messed up the chart conversion and ripped out the whole mess in frustration; right now I'm working on a pair knitted in the round, as god and nature intended I suppose, to get a better handle on the pattern. I still think the theory is solid, but perhaps my complicated-knitting skills need a bit of polishing first.

On that note let's move on to some slightly more cheerful news.

The only bad thing about Ravelry is that it's easy to do things and post them there and neglect to describe them here. One reason I made this blog is to share ideas I come up with, or notes I have while knitting something. So I'll try to be better about that kind of thing.

I only recently learned about Knitpicks - yeah, why did that take me so long - and I have to say that so far I love it. Ordered my own 'sampler' of single skeins of a bunch of different yarns to play with, and so far I'm really liking the quality, and LOVING the price. I decided to dive in and bought the yarn I needed to make Maude, the sweater that's been haunting my dreams. Next week I go on a road trip to Tennessee, so I'm looking forward to getting started on it (not really looking forward to winding all those skeins, but that's a different matter).

Thursday, June 11, 2009

Wire-frame Molding

So I was thinking about my Sackboy and how his wire skeleton was made, and I thought I'd write it up in case anyone else wants to wire-frame a creation. This method should work for anything knit or crocheted, and probably would be easily adapted for sewn figures as well.

Start with a single, long enough piece of stiff-ish wire. My personal favorite for this is the spiral wire from a 2" thick notebook. In general, you can figure out how much wire you need like this: the 2* the height of your figure, plus 4* the arm length, plus 4* the leg length, + 2* tail length (if it has a tail).

Begin by bending it loosely in half. Bend the central part of the wire into a circle, then twist the two ends two or three times to form a twisted neck. Then bend the wires outward to form arms - about where you want hands to be, form a loop that will be the hand, then twist the free end around the arm up to the body again. Twist the two free ends together to form the torso; stop about where the hips should be. Bend the wires outward again, and like for the arms, form feet, then twist the free ends around the leg. If you have any leftover, you can use it to form a tail, or just twist the remainder around the torso.

If you have a model that's not quite humanoid, you can easily adapt this - just start from the head and work your way along, doing each limb as you come to it. If possible, using a single long piece of wire gives the best result, because it can't come apart with bending. If you must use two pieces, then try twisting them together, forming the head with the twisted part, and going from there.

See this diagram; sorry, it's hand-drawn, but hopefully it gets the point across. Squiggly places are places where the wire is twisted around itself.


I hope someone else will get some use out of it - and I'd love to see any work done with this method!

Wednesday, June 3, 2009

Intarsia in the round? Say what?

Spending more and more time on Ravelry, I keep being introduced to more and more beautiful projects. With the Wisdom Poems Sock from Yarn Christmas, I decided to make a beautiful pair of textured fingerless gloves from the pattern here - I call this project my parrot gloves, because when I first saw it, that colorway reminded me of their iridescent feathers. Turns out that the colorway actually shades from the shining blues and greens into orange and red also - pretty much a rainbow - which greatly disappointed me at first, until I hit upon a bothersome but ultimately irresistible idea - cut out the colors that don't look like a parrot and use only some parts of the skein. So I cut it and rewound it into several smaller balls.

Gorgeous! But at any rate, this got me started thinking. One other thing I like about Ravelry is that you can use it almost like a time machine - see what your projects might look like, before you knit them, by looking at other people's finished projects. It can give you a good idea of what colors or types of yarn you would like to use with a particular pattern. And one thing I noticed here was the way that color variegated yarns tended to diminish the detailed texture of these gloves - you see the color change first and the pattern second. Single color yarns, though, make the pattern stand out beautifully. And to go to all that trouble creating that texture, I am damn sure not going to ruin it. But I still wanted to use this color changing yarn.

My solution? I'm going to try to do these gloves with intarsia techniques, and make each 'scale' from a different section of the skein, so the color change is broken up. Yeah. I know. They're knitted in the round. And it's going to be really complicated. I know. Ok?

But I think it's doable, especially because the particular textures here can lend themselves to helping out. The problem with doing intarsia in the round is that when you start the next round, your free yarn is over at the other side of that color section, NOT where you need it. But I think I can work around this by more or less knitting these gloves 'flat', and joining as I go.

These gloves are done with 6 repeats of a pattern chart. Let's say I start at repeat one, and work my way through 2, 3, 4, 5, etc. When I finish repeat number six, and would go back to repeat one in normal round knitting, instead I will pick up a stitch right on the edge of repeat one, turn, and go back working on the wrong side (making the first stitch on that side either a k2tog or p2tog instead of k or p to keep stitch numbers constant) - going back from six to one. This allows me to do each section the way I want to, changing strands with normal intarsia techniques as I move from scale to scale, and still end up with a round garment with no visible seam, as I suspect those little picked up stitches will not show in the change from one scale to another.

I imagine that some version of this technique has been invented multiple times by knitters in the past, but I thought of it on my own and I'm a little proud of it.

There are only three challenges left, but I feel that figuring that out was the hardest one.

1. All the knit stitches in this pattern are ktbl, making twisted rib. I hope that when you do this from the wrong side it looks the same, but I don't know - I'll have to look that up.

2. The chart is written as if you are knitting in the round, so I will have to reverse every other row since I am effectively knitting flat.

3. I will need twelve different strands of yarn at a time to do this. My previous best experience was using seven strands. I hope I am up to keeping them from tangling.

4. I have to actually knit this now that I worked out the pattern. And I have to do it twice because these are gloves.

Hmm. That was four. Well, it's not worked out 100% yet. Anyway I'm waiting for the second skein to come in the mail, because I don't think that part of one skein will be enough.

On the upside, I will also have a handful of little balls of red-orange-yellow-purple portions of the skeins, so maybe I'll think of something cool to do with those. I'll have to cut either the yellow or the purple ends off, though, because I don't like those two together.

Monday, June 1, 2009

Row Counting

Note the creepy veins visible in my hand. Yes, my skin is actually translucent in many places.

Another beautiful object, pattern from Ravelry. The idea was so cool and so in line with mathy, sciency things - a bracelet that is also an abacus - that I had to make it. But I didn't like some of the original materials, so I improvised a bit.

You pass the larger beads through the stretchy ring of copper beads as you count (in this case, the small beads between big ones are just decorative). The strand with thin beads represents the numbers 1-9, while the strand with fat beads represents 10, 20, etc. The little moon charm on the upper right side of the bracelet marks the 'beginning', so I know which side to count from.

This project really pleased me for a number of reasons. Firstly, it came out beautiful. I love copper, and I love coral, and they have gone together well here. Secondly, it is beautiful AND functional - a simple counter that can go anywhere with me, but also looks nice. Thirdly, it neatly combines my love of knitting and making jewelry.

I used tigertail and crimp beads for the first time with this project, and I like the results. I will probably use it more often. I just hope I can find more of this copper-colored stuff.

If you are interested, here's the original design from Sutherland Studios.